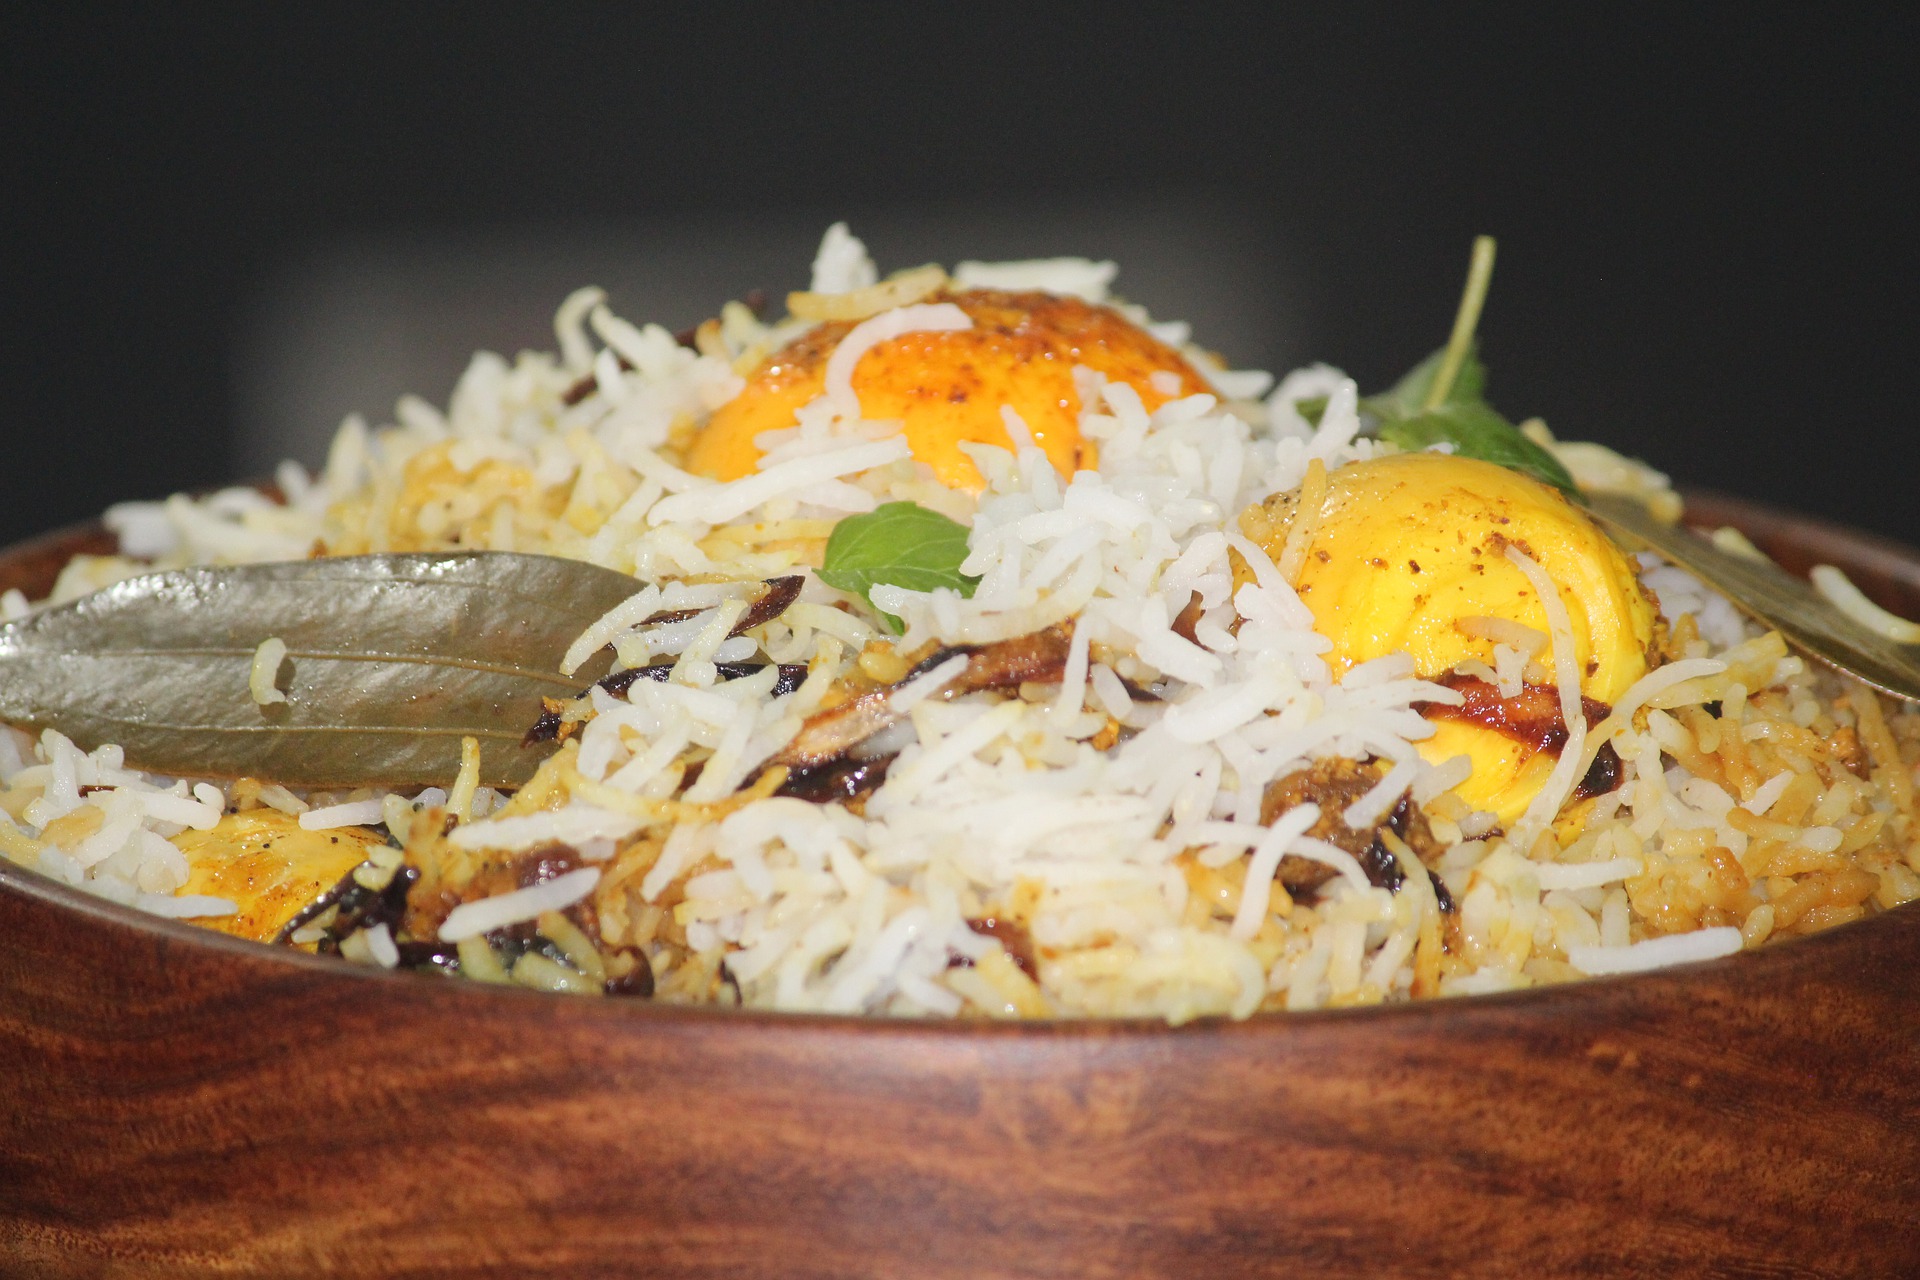
Fiery Chicken Dum Biryani Recipe
Chicken Dum Biryani- a classic dish that is a delight for sight and taste.
Get ready to burn your appetite with this Fusion Biryani!
So today, I’m unleashing one of my favorite recipes- Chicken Dum biryani-that aroma of cardamom and cinnamon with Tarka of spices exciting the appetite. Biryani is a star dish- it has so much versatility and it never fails to impress the eater.
Biryani is the most celebrated dish in Pakistan. Whether it’s an occasion, any wedding, or any family get-together Biryani will always be on the top of the list. Biryani is so rich with flavors it has it all, tanginess, sourness, spiciness, and sweetness.
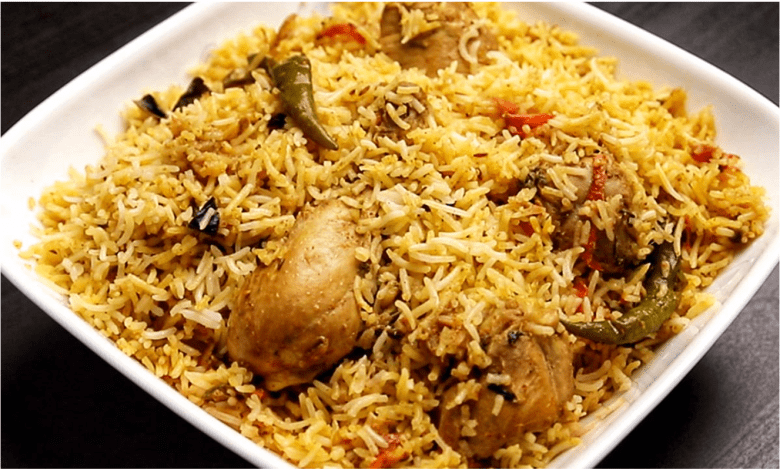
Biryani is all about spices, the chicken coated with spiced up gravy and layers and layers of rice and gravy. That bright colors-it can make every day festive.
Why biryani stands out? Is in its way how it is cooked. Like rice and chicken are cooked separately, then later they are fused together to form a royal dish. Biryani is a royal dish, Chicken dum biryani was originated by Mughals and it is known as a Mughalai dish.
So talking about Chicken dum biryani. What makes it special? It’s the way the chicken is marinated with all the spices and then rested upon the rice. When they are placed on dum- it’s just like magic, everything comes together so perfectly.
Again I’m going with chicken because chicken is mostly loved by everyone and it’s easy to cook. It perfectly melts into the mouth with all the spices and colored rice.
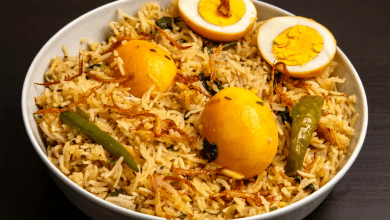
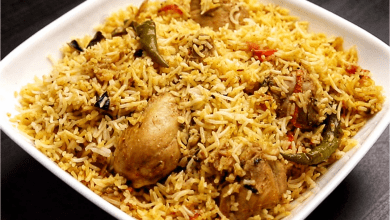
Chicken Dum biryani is such an explicit dish-you can present it any way you like. You can fuse biryani with potatoes and boiled egg which will make your biryani look different. You can garnish with green chilies, coriander leaves, and fresh tomatoes, and pickled onion. It can be served with raita or salad.
Chicken Dum Biryani Ingredients
- 350 grams of chicken (chopped into pieces)
- 300 grams of boiled basmati rice
- 10-milliliter water
- 30-milliliter cooking oil or ghee
- 20 grams garam masala
- 1 cup wheat flour
- Food color
- Mace powder
- Khewra water
For Chicken Marination
- 15 grams garlic paste
- 15 grams ginger paste
- 60 grams whipped yogurt
- Salt as required
- 1 gram mint leaves
- 10 grams sliced onion
- 7 grams red chili powder
- 1 tablespoon coriander leaves
For Garnishing
- 5 milliliter of ghee
- 2 sliced saffron
- 2 sliced onion
- 3 tablespoons of water
How to make Chicken Dum Biryani? Here’s a step-by-step procedure.
Step1# Prepare the marinade
To begin making biryani, take a largely-spaced bowl, add chicken and yogurt and mix them. Then add fried onion, red chili powder, coriander leaves, salt, and ginger and garlic paste.
Mix all the ingredients and coat the chicken with this marinade for about 2 hours. When chicken is completely marinated, add garam masala.
Step2# Cook the marinated chicken
Once the chicken is marinated with all the spices for marination, then take a pan add some ghee, and heat it on medium flame.
When ghee or oil is heated, add chicken in it and fry the chicken in the pan for about 3 minutes. Then pour water, and let the chicken cook on medium or low flame. Once the chicken is tendered cover the pan with a lid.
Step3# Make layers for biryani
Now in the same pan having chicken, add 70 percent of boiled basmati rice. Above the rice layer, add fried onion (crispy and brown), heated ghee, and saffron water and water. To add fragments to your biryani you can add mace powder and kewra water.
Step 4# Cover the pan with a dough- preparation for dum
Before covering the biryani, add some food color to give biryani its bright yellow color. Knead the dough with white flour, and seal the pan or a handi with dough, and then cover it with a cover or a lid. Secure the handi or pan and let the biryani stay on dum for at least 20 minutes. Remove the dum and your delicious Chicken Dum biryani is ready. Serve it with raita or yogurt.
Step 5# Garnish the biryani
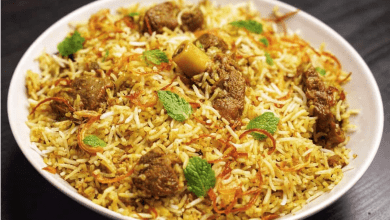
Garnish the biryani with green chilies (to add extra spiciness), cardamom, lemon slices, mint leaves, or onions. To give biryani more royal and touch you can add cashew nuts, almonds, and resins over biryani.
Chicken Dum Biryani Pro tips
- For making perfect Chicken dum biryani, must make sure that dum is placed properly, with no expulsion of air from anywhere, if not the taste of biryani will be affected.
- To get perfect dum you can also place foil over the dough, to give excellent flavor to the biryani
- At least marinate the chicken for 1-2 hours to get succulent or tender chicken
- To remove extra impurities from the chicken, wash the chicken with salt to remove any kind of impurity
- Khewra and mage powder must be added to biryani to give a nice aroma to the biryani
- Proportions of seasoning should be checked before adding it to the rice
- The vessel required for biryani plays an important part, a wide-based vessel is required and the bottom of the vessel must be thick to prevent the rice from burning.
Best Secret Tips To Enhance The Taste of Chicken Dum Biryani
- Quality of rice- long-grained rice is preferred. Basmati and sella rice is perfect for making biryani. They don’t get fragmented while making the biryani and they remain a little hard not completely getting dissolved in the gravy
- Seasoning, make a biryani a biryani. So spices of good quality should be chosen. National and Shan have the best biryani range.
- Proportions of the rice and meat should be carefully catered. If 1 kg of meat is used, so 1 kg of rice must be used. There is a 1:1 ratio of rice and meat.
- Soaking of rice is very important for the texture of the biryani. At least soak rice for 20 minutes. It depends on the type of the rice
- You can make separate gravy and can simmer the chicken with that gravy and then add the rice to add more flavor to the biryani.
- If somehow, rice gets overcooked, there is a solution to this problem, you can dry out the extra gravy and add little water, during dum.
- Fried onion, can add a bitter taste to biryani, they should be fried until they get a light brown, and if they get extra fried you can mess up with the taste.
- Ghee brings traditional and royal touch to the biryani, so good quality ghee should be used.
- Cook rice and chicken separately. Let the chicken settle with marinade separately, absorbing all the spices. Rice should only be boiled up to 70 percent. As the rice has to remain in dum with chicken for some time to prevent overcooking only 70 percent of rice should be cooked separately
- Ginger and garlic paste brings freshness to biryani, so instead of going for packaged garlic go for fresh garlic and ginger paste.
- The Tanginess of lemon must be incorporated with biryani to balance the spices and to cut the extra heat with some acidity.
- To calm up all the spices yogurt or plum chutney can be served with biryani
Chicken Dum Biryani Nutrition
- Sodium 3 mg
- Calories 0
- Potassium 1087 mg
- Dietary Fiber 8g
WHAT SERVES WELL WITH BIRYANI?
Biryani is a stand-alone dish that can be served with just raita or herbed yogurt. If you’re serving it for visitors, kebabs like Aloo Ki Tikki (Potato Cakes) or Shami Kebab will fit well. If you want to make the spread elaborate, a curry-like this Easy Instant Pot Beef Curry (Stew) or Beef Kofta Curry would be wonderful along with naan. Baingan Bharta or Zucchini Curry are both excellent vegetarian choices.
Chicken Dum Biryani Raita Recipe
- 1 cup fresh full fat curd, beaten, or whisked until smooth is the first step. Then add 13 cups finely chopped onions and 13 cups finely chopped cucumber to make a simple Indian savory raita recipe. Toss in some tomatoes if desired.
- 1 to 2 tablespoons chopped coriander (cilantro) or mint leaves are good additions. Season with salt and ground spices such as 12 teaspoons roasted cumin powder and 14 to 12 teaspoon red chili powder (or cayenne pepper). Combine all ingredients in a bowl and serve with your favorite Pakistani dishes.
- I recommend making your curd or yogurt for the best results and a creamy smooth texture. You can find step-by-step photos and detailed instructions in my post on How to Make Curd.