Chicken biryani is a traditional Pakistani dish that is easy to make and delicious.
One of the most common recipes to come out of the Indian subcontinent is Dum style Spicy Chicken Biryani. Known as a Mughal-introduced dish, this is unquestionably a royal dish that is prepared in brown households on happy or sad occasions.
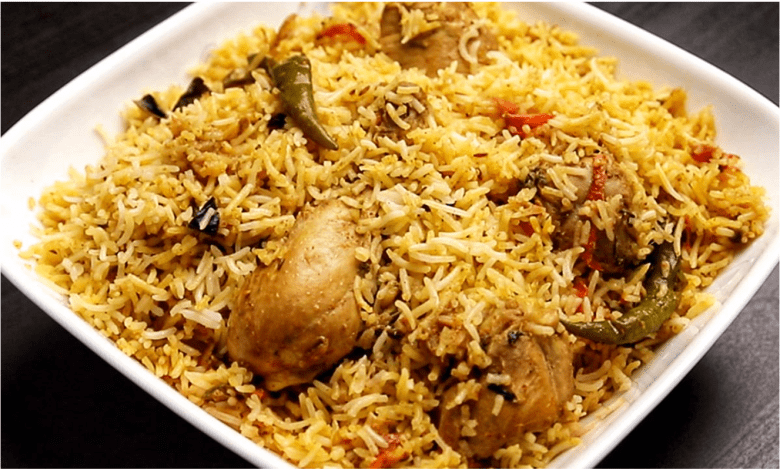
Today’s biryani has changed significantly; the most common style consists of layers of rice, curry, and garnish. That’s exactly what this biryani is!
Dum-type biryani is another name for it. I believe I am the millionth person to post about a simple biryani recipe that I swear by.
I don’t blame you if you’re skeptical, particularly if you’ve tried other biryani recipes that haven’t worked out. But I’ll tell you this: if there’s one thing Karachi residents know how to do, it makes a delectable biryani! Rest assured, this is a classic Karachi biryani that will not let you down.
The Best Thing About Chicken Biryani
When people visit Pakistan, they want to try Pakistani Chicken Biryani, which is a world-famous recipe. The city of Karachi is well-known for its biryani. Most visitors try Pakistani Mutton Biryani, which is delicious and has a distinct aroma that entices you to eat it.
This chicken biryani recipe has been one of the most popular among my readers, and I’m thrilled to be able to share it with you today. Cooked in a yogurt marinade, succulent, juicy chicken parts are layered with crispy onions, coriander, mint, and basmati rice for a meal that the whole family will enjoy. I’ve broken down the steps so you can replicate this restaurant-style biryani at home!
I have to be absolutely honest with you. Before I decided to share this recipe, I had never made chicken biryani. And I was persuaded by the fact that so many of you had requested a legitimate/authentic biryani recipe. And we’re biryani connoisseurs. While we normally eat mutton, this chicken biryani has changed our minds. I was anxious the first time I tried it because it seemed to be so complicated and overwhelming, with a seemingly infinite number of steps. So I inhaled deeply and decided to deconstruct them for you.
Chicken Biryani Recipe Tips
When making chicken biryani, it’s important to use a heavy-bottomed pot to prevent scorching or burning the chicken parts. When making Beef biryani, a Dutch oven will be your best friend because it heats evenly and retains heat.
Ingredients used in Chicken Biryani Recipe
- 2 c. rice (Basmati)
- Chicken pieces, 3/4 kg
- 3 big, sliced onions 1 cup yogurt
- 1 teaspoon ginger powder
- 2 tbsp. chopped green coriander leaves
- a half teaspoon of garlic paste
- Saffron, a pinch
- 1 tablespoon of green chili paste
- 2 tsp. Red chili powder 1/2 cup tomato puree
- Turmeric powder, 1 tsp.
- a teaspoon of cumin powder (roasted)
- 1/2 teaspoon powdered cardamom
- 2 tablespoons garam masala powder
- 3 1/2 cups milk 1/2 cup milk water
- 1 teaspoon powdered coriander
- 7 tbsp. Oil
- salt as needed
Step by Step Chicken Biryani Recipe Instruction
Step 1# Marination for Chicken Biryani
The marinade lends a lot of flavor to this Pakistani Chicken Biryani. To spice the chicken, we use yogurt as a tenderizer, as well as fried onions (barista), tomato puree, chili powder, turmeric powder, coriander powder, garam masala, and salt.
To get the most flavor out of the chicken, marinate it for at least two hours or overnight. For chicken biryani, I like to use only chicken thighs and legs because they are the juiciest and do not dry out while cooking.
Step 2# Basmati Rice and Fried Onions
Fried onions are the main ingredient in this recipe, and they must be done correctly. Onions are sliced and browned in oil over a medium flame. Onions can be a rich golden brown without being burnt, so they don’t have to be extra crispy.
You can also use store-bought fried onions, which are widely available these days in supermarkets. Be sure to buy ‘basmati rice’ instead of long-grain rice when buying rice for the biryani.
Although they can appear to be similar at first glance, good quality basmati rice is fragrant and has small, long grains, as compared to long grain rice, which has fatter grains and little fragrance.
NOTE: Always boil the water over high heat until it begins to bubble before adding the rice.
Fill the pot halfway with boiling water and add your pre-soaked rice. It will take a few minutes for the water to return to a boil. When your water begins to boil again, start keeping track of the time. The rice takes about 3 to 4 minutes to “parboil.”
Keep an eye on your rice and, preferably, refrain from multitasking at this time. Prepare your biryani by straining the rice through a large strainer.
How To Make Chicken Biryani
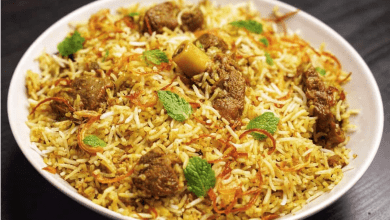
Begin by cooking the marinated chicken after you’ve prepared the rice and fried onions. It’s critical to layer the chicken with the fried onions, mint, and coriander once it’s partially cooked. The onions bring sweetness and richness to the dish, while the herbs add a lot of flavors.
After that, rice is layered on top, followed by soaked saffron and ghee. After your tomatoes have softened, simply blend your korma base with a hand blender to achieve a smooth consistency. This will give your korma a smooth masala, as well as increase the quantity of blended masala.
The remaining ingredients can now be added. Chicken, dried plums (aloo Bukhara), chicken cubes, garlic ginger paste, and yogurt and chili paste are all included. That’s what there is to it! Cover your chicken korma and cook for 15 to 20 minutes over medium heat.
NOTE: When adding raw chicken to curries and gravies, it should always be sautéed in oil first.
Biryani is one of the few dishes where adding raw chicken to a masala base is appropriate. Your korma should look like this after 15 to 20 minutes. Now we’ll add two ingredients to our biryani that will give it a “biryani scent.” mace and nutmeg powder, kewra water (jayfil javetri). If you don’t have kewra water, you can just use that instead.
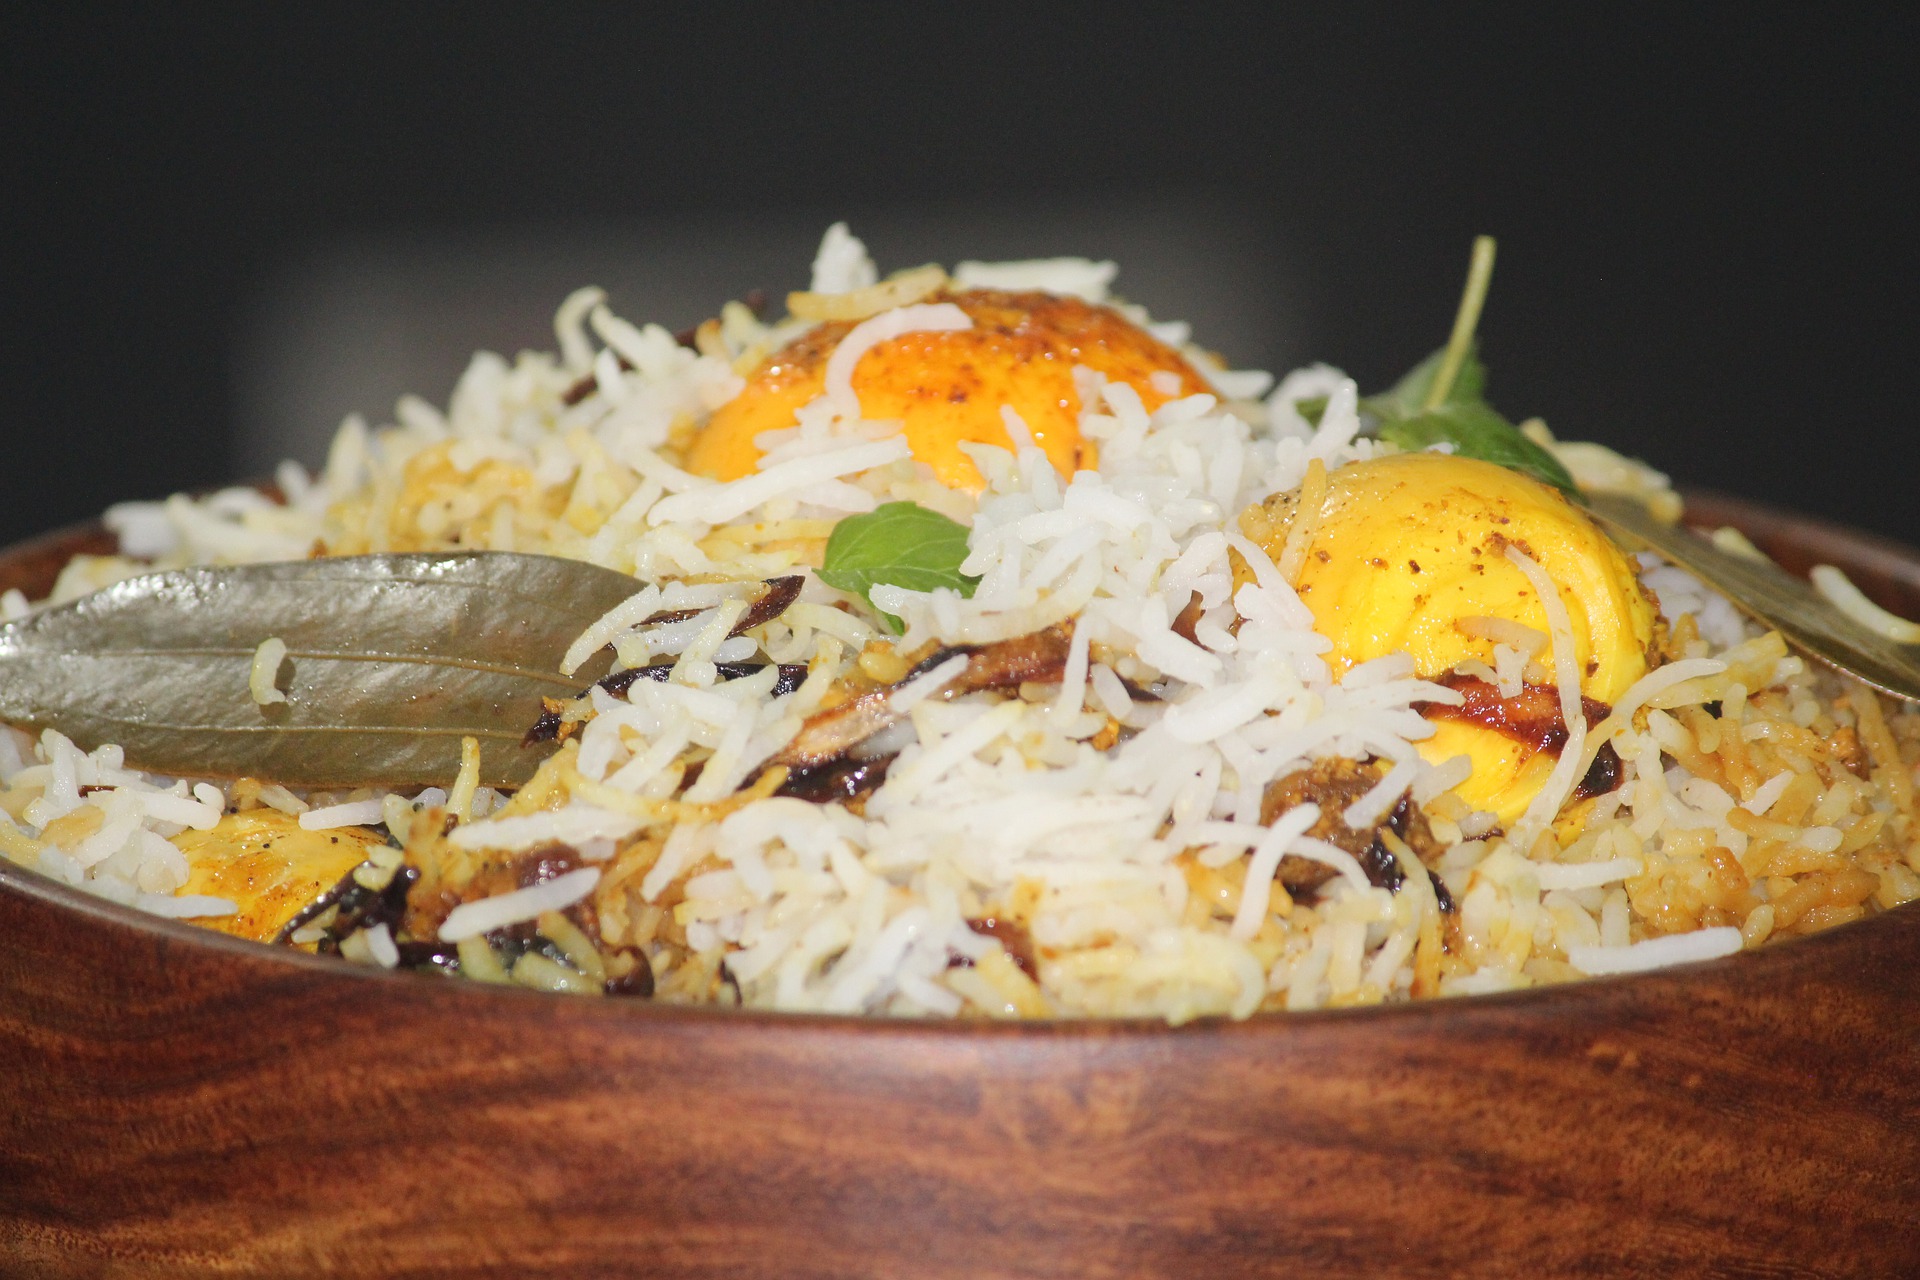
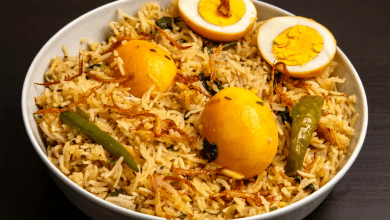
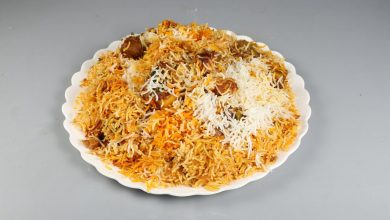
Now it’s your turn. Start layering, but only place 1/3 of the rice on the bottom layer. It doesn’t have to be exact; just make an informed guess. Don’t be concerned if any of your rice has clumped together; this is a positive sign. Then, using 1/3 of all of your garnish (except the color), scatter it evenly over your rice. Finally, layer half of your chicken korma evenly over the rice. Rep until you hit the top. Apply a cross-shaped layer of food color mixed with milk to the top. As well as the standard garnishes.
Cover your pot with foil first to ensure a good seal, then cover it with the lid. When you return your pot to the flame, add a simmer ring or a Tava underneath it. Set the flame too high for 5 minutes, then low for another 10 minutes. To check if there is steam in your pot, lift the lid slightly to the side. Keep the lid closed and turn off the flame if steam appears. Allow 10 minutes for the biryani to rest before serving.
Serve with raita and salad
And there you have it! The entire process takes about an hour, so I consider it a weekend project, but once you’ve done it, you’ll realize how quick and simple it is to make biryani at home! The end result will be something like this, and believe me when I say there’s nothing like the scent of chicken biryani wafting through the house to get everyone to the table!
Let’s just say that it didn’t seem like work to make five attempts to ensure that I provided you with directions that you could easily follow at home.
Notes: You can also use half a packet of Shan Bombay biryani masala and half a packet of Shan Sindhi biryani masala if you don’t want to make your own biryani masala.
Secret Biryani Tips You’ve Never Heard Before Aout Chicken Biryani
Spices in their entirety
Whole spices, condiments, and masalas should be carefully chosen for consistency, and it is also preferable to make all compound masalas and powders at home or in-house rather than using store-bought mixes. This ensures the highest standard of service. It’s a minor detail, but the effect can be smelled from a long distance.
Pots
Copper or brass pots that are perfectly tinned and heavy-bottomed are ideal for making biryani. If you’re using some other metalware, make sure the pot is thick enough to prevent burning the bottom. Another thing to keep in mind is that the pot should be wide enough to leave at least 30% room for the final finish until all the ingredients have been loaded. There will be enough space for the steam this way.